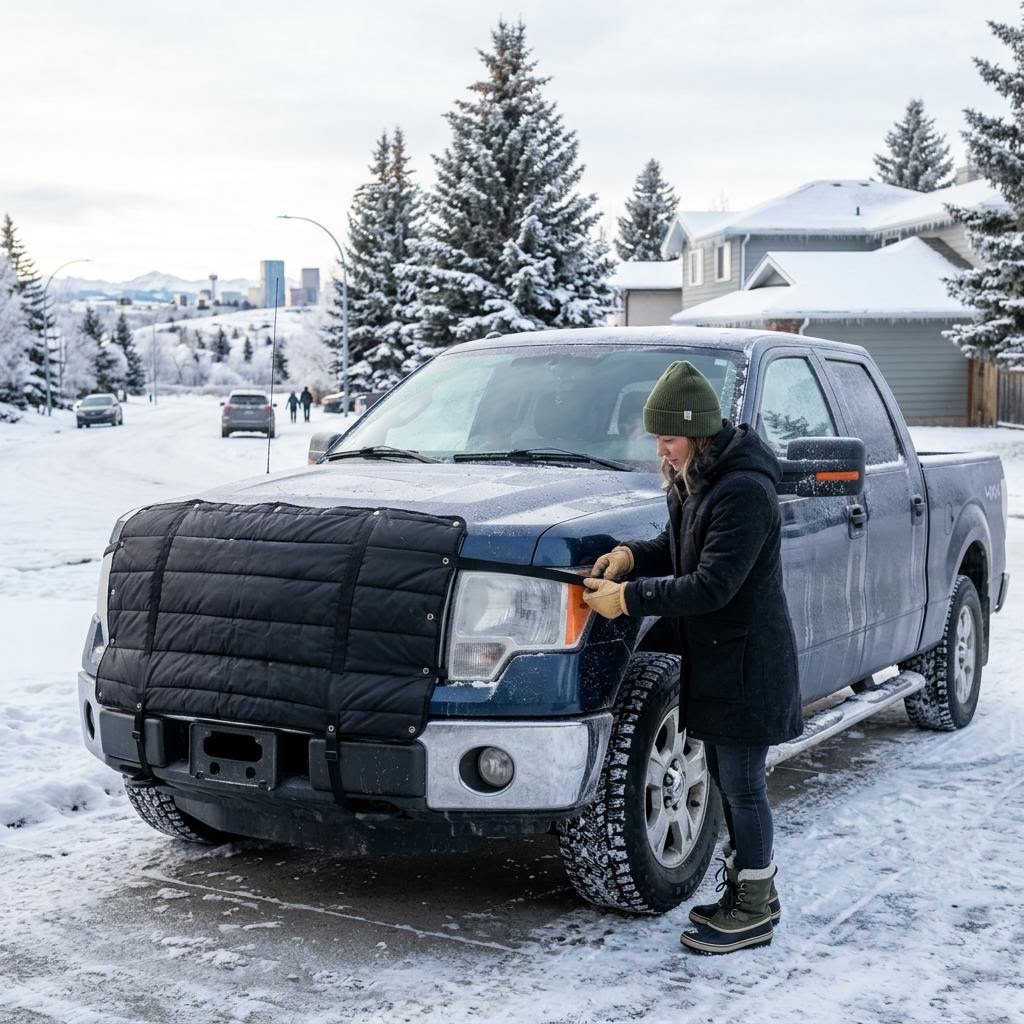
A winter front restricts airflow through part of a vehicle’s grille, making fit and operating instructions more important than appearance. Calgary’s cold morning, mild afternoon and loaded highway trip may require different decisions.
For related truck protection, read our Calgary truck seat-cover guide and work-truck protection guide. For business vehicle appearance, see Calgary vehicle-wrap comparisons.
1. Confirm the truck permits a winter front
Read the manufacturer’s instructions for the exact truck and engine. If guidance is unclear, ask a dealer to check the VIN. Advice for another diesel pickup or older model may not apply.
2. Match grille, model year and engine
Record year, make, model, trim and engine and compare photographs of the actual grille. Styling changes and accessory bumpers affect fit; an approximate size is not enough.
3. Distinguish a winter front from a bug screen
Solid or quilted winter fronts and mesh bug screens serve different purposes. Fia custom truck winter fronts include vehicle-specific combination products with interchangeable pieces for supported applications. Confirm package contents and follow each piece’s instructions.
4. Compare Fia with approved equipment
Fia is an aftermarket manufacturer to investigate for custom-fit winter fronts. Check the vehicle selector and selected part number. If the truck manufacturer offers an original-equipment cover, ask the dealer to compare fit and operating restrictions.
5. Understand airflow adjustment
Establish when openings must be adjusted or the cover removed, and whether restrictions change with load or towing. There is no single temperature threshold for every truck.
6. Check sensors and active equipment
Inspect cameras, radar, parking sensors and active grille components. Do not cut or reposition a cover as a substitute for approved fitment.
7. Plan installation
Review mounting methods. Relevant Fia kits may describe adhesive or drilled fastening, but selected-part instructions govern. Confirm surface preparation, installation temperature and treatment of existing paint or trim.
8. Reassess changing conditions
Check fasteners, ice, snow and openings before trips. Follow the owner’s manual if a temperature warning appears; do not continue driving with overheating.
9. Buy the correct package
Confirm part number, hardware and replacement fasteners. Compare delivered Canadian-dollar cost, shipping and import charges, and keep fitment confirmation until the cover has been checked.
Bring useful information to the parts counter
Bring VIN, engine details, grille photographs, accessory notes and owner’s-manual guidance. Explain city, highway and towing use so the supplier can address the actual fitment question.